Categories Posts

How to Install Garage Door Opener

How to Install Garage Door Opener

Garage door opener installation can appear complicated, but it’s really not. With the right tools and a bit of guidance, you can do it in no time. 

Whether you’re upgrading an old system or installing one for the first time, we’ve got you covered. Our blog post will give you all the information you need and answer your questions about how to install a garage door opener easily. If you still need help, we’ll offer advice on choosing professional installers, too.

Choose the Right Garage Door Opener

Choosing the right garage door opener is the first and most important thing to ensure a smooth installation. First, consider the type of door you have. It can be sectional, tilt-up, or roller. Each type of garage door pairs best with specific openers.

Next, think about how often you’ll use your garage door. For frequent usage, consider a belt-driven opener known for its quiet operation. If noise isn’t an issue, chain-driven models are sturdy and cost-effective.

Don’t forget to check the power units as well. Battery backup features can save your life during power outages in case you have an electric garage door opener. If you’re feeling a bit tech-savvy, look into smart garage technology. Many modern openers offer smartphone compatibility that allows you to control your garage from anywhere. 

Prepare It for Installation

Now that you have the right opener, it’s time to pick all your tools. You’ll typically need:

  • step ladder;
  • screwdriver;
  • pliers;
  • wrench set;

Having everything ready will make the job smoother. Next, clear out any clutter in your garage area. A clean workspace means fewer distractions and more safety.

A stepladder with tools on it

Don’t forget to read through the manufacturer’s instructions carefully. Each model can have unique requirements or steps that you need to take for proper setup. Also, check if you need any additional materials, such as a garage door bracket or mounting hardware. It’s better to have everything on hand than to pause midway through installation.

Of course, wear protective gear like gloves and goggles. Safety comes first!

Secure Electrical Plug

Once you have the garage door opener and the right tools, you’ll also need an electric plug. Check if you have an electrical outlet nearby. If not, you will need a power cord. Just ensure it can handle the garage door opener’s voltage requirements. Most standard openers operate on 120 volts, but you can always check the specifics in the manual.

The hand that pulls the plug out of the socket

Next, ensure that the outlet is not overloaded with other devices. Too many appliances plugged in at once can lead to circuit problems or even tripped breakers. Once you’ve confirmed all this, plug in your garage door opener. Make sure it fits snugly and there are no loose screws.

Check Out All the Parts of the Opener

Now, take your time to learn about all the components of your garage door opener kit. Each part has to be connected correctly to ensure smooth garage door operation.

First, check the motor unit, which is often mounted on the garage ceiling. This powerhouse drives everything else and is usually equipped with lights for added visibility when you open or close the door.

Next, examine the rail system. It connects directly to the motor and guides your garage door along its track. Look for any bends or damages that could hinder performance.

Lastly, you need to check safety features like photoelectric sensors. These are needed to prevent accidents by stopping or reversing movement if something obstructs their path. It may not be necessary as part of the functionality system, but it gives you peace of mind. 

Gather all accessories, such as garage door opener remotes and wall controls. Ensure they work properly before starting installation. 

Put Together Main Assembly

After you’ve checked everything, you should assemble the main components of your garage door opener. Start by laying out all the parts on a clean surface. This will help you identify everything and ensure nothing is missing.

Garage door opener installation usually begins with the motor assembly. Attach any necessary brackets according to the manufacturer’s instructions. You need to follow these guidelines precisely for optimal performance.

Next, connect the rail to the motor head. The rail guides your door as it opens and closes, so make sure it’s securely attached and properly aligned. Double-check that all screws are tightened firmly but not overdone. This could cause damage or misalignment later on. With this assembly complete, you’re nearly done.

If you feel overwhelmed, this may be the time to call for professional installation. Note that it’s completely understandable to need garage door technicians in this case.

Install Blocking on the Ceiling

If you’re ready to proceed, the next step is to install blocking on the ceiling. This provides added support and stability for your unit.

First, figure out where your opener will hang. Look for rafters or joists that can effectively bear weight. If necessary, use a stud finder to ensure you’re attaching to solid wood.

Once you’ve found the right spots, cut pieces of blocking material, typically 2x4s, into lengths that fit snugly between rafters. Secure them using lag screws or heavy-duty nails. Make sure they are level and firmly attached. This will help prevent any wobbling when the door operates.

After securing the blocks, double-check their alignment with your chosen garage door opener location. 

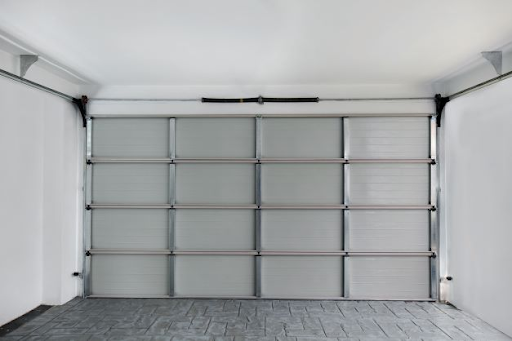
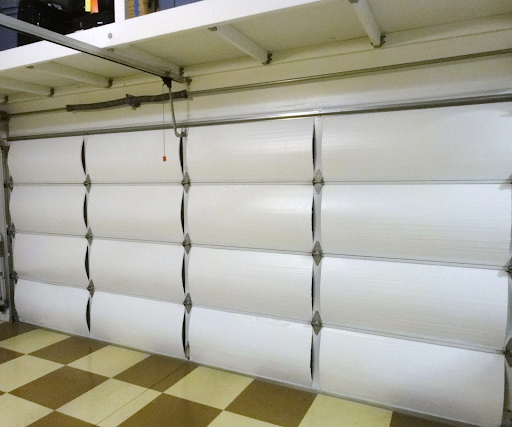
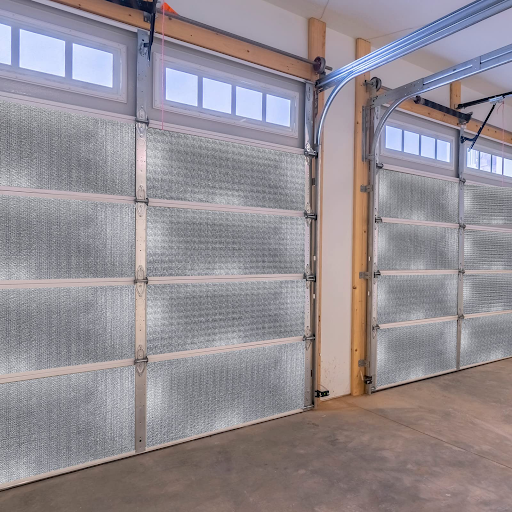
White garage door view from the inside

Connect the Opener to the Garage Doors

Now it’s the time to connect your garage door opener to the actual door. You first need to make sure that the garage door is fully closed. This helps align everything properly.

Then, locate the manual release cord on your garage door mechanism. Pull this cord to disconnect it temporarily from the system. You’ll need to do this before attaching anything.

Now, grab the bracket or arm that comes with your opener kit. Attach one end of this arm securely to the top section of your garage door using screws provided in your toolkit. Once attached, connect the other end of the arm to the trolley on your opener rail. Make sure it clicks into place so you know it’s secure.

Test its movement manually first, then reconnect any cords you need for automatic operation. If you notice any misalignment during testing, you may need to adjust some parts.

Install Additional Features

Once your garage door opener is connected, consider adding features that can improve security. While these features can add to the cost of the garage door, they can come in quite handy. For instance, the integration of smart garage technology can make a significant difference. Many modern openers support Wi-Fi connectivity. This allows you to control the door from your smartphone.

White car and a hand with a phone

Another valuable addition is a battery backup system. If the power source goes out, you’ll still have access to your garage without hassle. It’s particularly useful during storms or emergencies and will give you peace of mind knowing you’re covered.

Once again, we’ll mention garage door safety sensors. These detect obstacles and prevent accidents, which is especially important if children or pets are around.

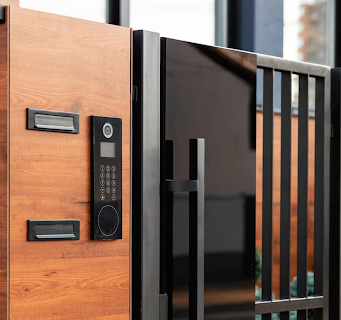
Remote controls and keypads mounted outside provide an entry with an access code that your family members can use without the physical key. Some systems even offer voice activation through smart home devices.

Test Altogether

Once everything is assembled and installed, it’s time to test your garage door opener. Make sure that the remote control and wall switch are within reach. Press the button to see if the door opens smoothly without any hitches. Observe how well it closes as well, as there should be no jerking or sudden stops.

Check for any unusual noises which may indicate misalignment or other issues. If you have safety sensors, ensure they function properly by waving an object in their path while closing the door. If they work right, the door will stop immediately.

If all is well, check all the additional features you’ve integrated into your opener system. Test them out individually, too, just to be on the safe side.

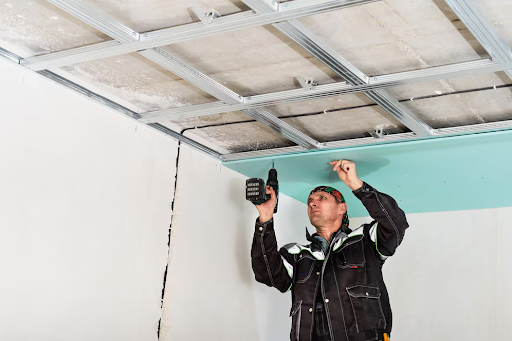
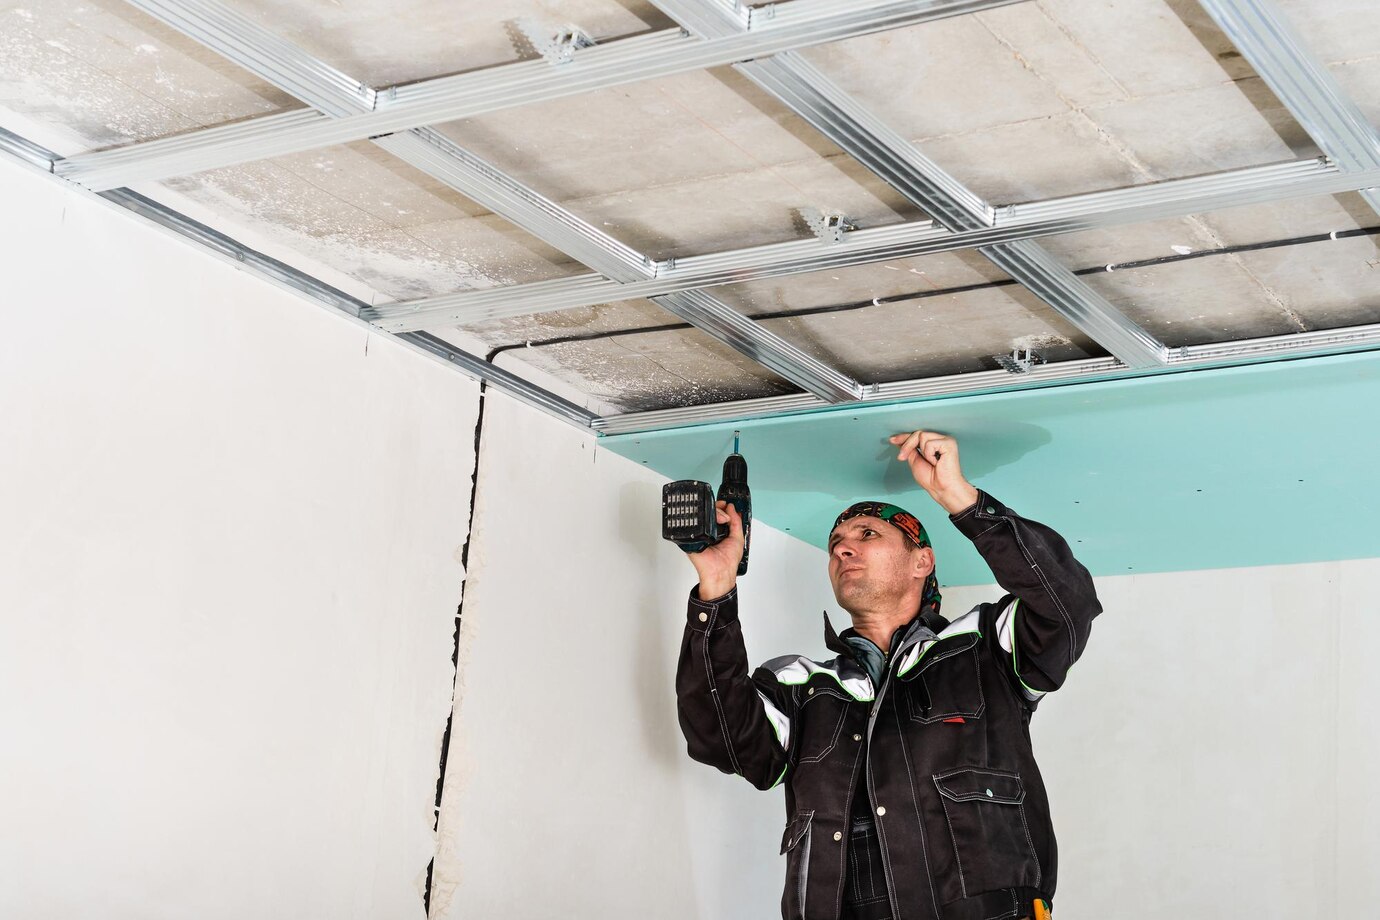
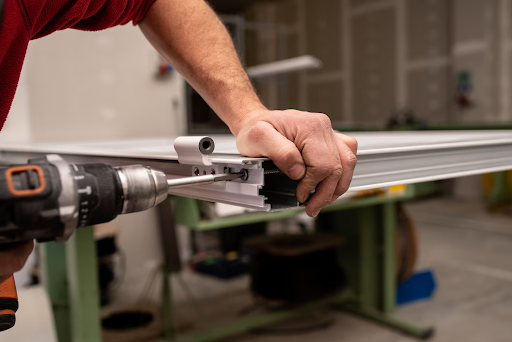
A handyman with a drill repairing a white graage door

If you notice any issues during the test phase, you can try troubleshooting them. If, however, you cannot, or if you’ve found this to be a challenging task, it might be the right time to call for help. You may need professional installers to assist you with the matter. Our garage door service is at your disposal. Contact us, and we’ll be there in no time.

Categories Posts

Unlocking the Solutions: Expanding Your Garage Door Remote Range for Improved Access

Unlocking the Solutions: Expanding Your Garage Door Remote Range for Improved Access

Having a reliable garage door remote is essential for convenient access to your home. However, if your remote has a limited range, it can be difficult to open the door when you’re far away. Fortunately, there are several solutions available to expand the range of your garage door remote and improve access to your home.

What Causes a Limited Remote Range?

Garage door remotes use radio frequencies to communicate with the opener and open the door. The range of these signals can be affected by several factors, including interference from other electronic devices, physical obstructions, and the age of the opener.

  • Interference: Electronic devices such as cell phones, Wi-Fi routers, and Bluetooth speakers can interfere with the signal from your garage door remote and reduce its range.
  • Obstructions: Physical obstructions such as walls, trees, and other objects can block the signal from your remote and reduce its range.
  • Age: Older garage door openers may not be able to receive signals from remotes that are farther away.

Solutions for Expanding Your Remote Range

Fortunately, there are several solutions available for expanding the range of your garage door remote. These solutions include installing a stronger antenna, using a repeater system, and upgrading to a newer opener.

  • Stronger Antenna: Installing a stronger antenna on your garage door opener can help extend the range of your remote. This is an inexpensive solution that can be easily installed by a professional technician.
  • Repeater System: A repeater system uses multiple antennas to extend the range of your remote. This is an effective solution for larger homes or those with multiple floors.
  • Upgrading to a Newer Opener: Upgrading to a newer opener can significantly improve the range of your remote. Newer openers use more advanced technology that is better able to receive signals from farther away.

Expert Assistance from Garage Door Experts

If you’re looking for expert assistance in expanding the range of your garage door remote, look no further than Garage Door Experts. We provide professional installation services for all types of garage doors in Newton Upper Falls, Newton Highlands, Waban, Needham Heights, New Town, Newton Center, Nonantum, Newton Lower Falls, Needham, Chestnut Hill, Auburndale, West Newton, Wellesley Hills, and Newtonville.

Our team of experienced technicians can help you find the best solution for expanding the range of your remote. We offer free estimates and same-day service so you can get back to enjoying convenient access to your home as soon as possible.

Conclusion

Having a reliable garage door remote is essential for convenient access to your home. Fortunately, there are several solutions available for expanding the range of your remote. These solutions include installing a stronger antenna, using a repeater system, and upgrading to a newer opener. For expert assistance in expanding the range of your garage door remote, contact Garage Door Experts today! We provide professional installation services in Newton Upper Falls, Newton Highlands, Waban, Needham Heights, New Town, Newton Center, Nonantum, Newton Lower Falls, Needham, Chestnut Hill, Auburndale, West Newton, Wellesley Hills, and Newtonville.

Categories Posts

Unveiling the Mystery: Why is Your Garage Door Opening and Closing on Its Own?

Unveiling the Mystery: Why is Your Garage Door Opening and Closing on Its Own?

Garage doors are a great convenience, but when they start to open and close on their own, it can be a source of confusion and frustration. There are several possible causes for this issue, ranging from technical malfunctions to security breaches. In this article, we’ll take a look at some of the most common causes of a garage door opening and closing on its own.

Faulty Sensors

The most common cause of a garage door opening and closing on its own is a malfunctioning sensor. Garage doors are equipped with sensors that detect when something is blocking the door’s path. If these sensors become misaligned or blocked, they can cause the door to open and close repeatedly. To fix this issue, you should check the alignment of the sensors and make sure they are not blocked by any objects.

Remote Control Malfunction

Another possible cause of a garage door opening and closing on its own is a malfunctioning remote control. If your remote control is not working properly, it can cause the door to open and close without you pressing any buttons. To fix this issue, you should check the batteries in your remote control and make sure they are still working. You should also check the range of your remote control to make sure it is within range of your garage door opener.

Security Breach

In some cases, a garage door opening and closing on its own could be caused by a security breach. If someone has access to your garage door opener’s code, they could be using it to open and close your garage door without your knowledge. To prevent this from happening, you should change the code on your garage door opener regularly and make sure it is not shared with anyone else.

Technical Malfunction

Finally, a technical malfunction could also be causing your garage door to open and close on its own. If your garage door opener is old or has been damaged in some way, it could be malfunctioning and causing the door to open and close randomly. To fix this issue, you should have an experienced technician from Garage Door Experts inspect your garage door opener and repair any issues that may be causing the problem.

Conclusion

A garage door opening and closing on its own can be a source of confusion and frustration. However, with some troubleshooting, you can usually identify the cause of the issue and take steps to fix it. The most common causes are faulty sensors, remote control malfunctions, security breaches, and technical malfunctions. If you live in Newton Upper Falls, Newton Highlands, Waban, Needham Heights, New Town, Newton Center, Nonantum, Newton Lower Falls, Needham, Chestnut Hill, Auburndale, West Newton, Wellesley Hills, or Newtonville area then contact Garage Door Experts for professional assistance in resolving this issue.

Categories Posts

The Ultimate Guide to Troubleshooting a Jammed or Non-Working Garage Door Lock: Expert Tips and Solutions

The Ultimate Guide to Troubleshooting a Jammed or Non-Working Garage Door Lock: Expert Tips and Solutions

Having a jammed or non-working garage door lock can be a major inconvenience. It can prevent you from entering your garage, leaving you feeling frustrated and helpless. Fortunately, there are some simple steps you can take to troubleshoot the issue and get your garage door lock working again. This ultimate guide will provide expert tips and solutions to help you get your garage door lock back in working order.

Common Causes of a Jammed or Non-Working Garage Door Lock

Before attempting to troubleshoot the issue, it’s important to understand the common causes of a jammed or non-working garage door lock. The most common causes include:

  • A broken or damaged lock mechanism
  • Dirt, dust, and debris buildup
  • Worn out components
  • Improper installation
  • Excessive force applied to the lock

It’s also important to note that the age of the lock can play a role in its functionality. Older locks may require more frequent maintenance and repairs than newer locks. If your garage door lock is more than 10 years old, it may be time to consider replacing it.

Steps for Troubleshooting a Jammed or Non-Working Garage Door Lock

If your garage door lock is jammed or not working properly, there are several steps you can take to troubleshoot the issue. Here are some tips and solutions for troubleshooting a jammed or non-working garage door lock:

Check the Lock Mechanism

The first step is to check the lock mechanism for any signs of damage or wear and tear. Look for any cracks, chips, or other signs of damage that could be preventing the lock from functioning properly. If you find any damage, it’s best to replace the entire lock mechanism rather than attempting to repair it.

Clean the Lock Mechanism

The next step is to clean the lock mechanism with a soft cloth and mild detergent. This will help remove any dirt, dust, and debris that may have built up over time and is preventing the lock from functioning properly. Make sure to use gentle strokes when cleaning the lock mechanism so as not to cause any further damage.

Lubricate the Lock Mechanism

Once you’ve cleaned the lock mechanism, it’s important to lubricate it with a light oil such as WD-40 or 3-in-1 oil. This will help ensure that all of the components are properly lubricated and functioning properly. Make sure to apply a small amount of oil to all of the moving parts of the lock mechanism.

Check for Loose Components

The next step is to check for any loose components that may be preventing the lock from functioning properly. Look for any screws, bolts, or other components that may have come loose over time and are preventing the lock from working properly. If you find any loose components, make sure to tighten them securely before attempting to use the lock again.

Check for Proper Installation

Finally, make sure that your garage door lock was installed correctly in the first place. Improper installation can cause issues with functionality down the line, so it’s important to double check that everything was installed correctly before attempting to use the lock again. If you find any issues with installation, contact a professional locksmith for assistance.

When Should You Call an Expert?

If you’ve tried all of these steps and your garage door lock is still not working properly, it may be time to call an expert for assistance. At Garage Door Experts in Newton Upper Falls, Newton Highlands, Waban, Needham Heights, New Town, Newton Center, Nonantum, Newton Lower Falls, Needham, Chestnut Hill, Auburndale, West Newton, Wellesley Hills, Newtonville and Newton we specialize in repairing and replacing garage door locks so you can get back into your garage quickly and safely. Contact us today for more information about our services!

Conclusion

Having a jammed or non-working garage door lock can be incredibly frustrating but there are some simple steps you can take to troubleshoot the issue yourself. Start by checking for any signs of damage or wear and tear on the lock mechanism before cleaning it with a soft cloth and mild detergent. Then lubricate all of the moving parts with light oil before checking for any loose components that may be preventing proper functionality. Finally, make sure that your garage door was installed correctly in order for it to work properly. If all else fails, contact an expert at Garage Door Experts in Newton Upper Falls, Newton Highlands, Waban, Needham Heights, New Town, Newton Center, Nonantum, Newton Lower Falls, Needham, Chestnut Hill, Auburndale, West Newton, Wellesley Hills, Newtonville and Newton for assistance with repairing or replacing your garage door lock!

Categories Posts

Garage Door Experts Shares Proven Solutions: Troubleshooting a Slow Opening Garage Door

Garage Door Experts Shares Proven Solutions: Troubleshooting a Slow Opening Garage Door

Garage Door Experts is a trusted provider of garage door services in Newton Upper Falls, Newton Highlands, Waban, Needham Heights, New Town, Newton Center, Nonantum, Newton Lower Falls, Needham, Chestnut Hill, Auburndale, West Newton, Wellesley Hills, Newtonville, and Newton. We understand that garage doors are an integral part of your home and can cause a lot of frustration when they don’t work properly. One common issue is a slow opening garage door. In this article, we’ll discuss the causes of this problem and share some proven solutions for troubleshooting it.

What Causes a Slow Opening Garage Door?

There are several possible causes for a slow opening garage door. The most common culprits are:

  • Misaligned or broken tracks
  • Worn out rollers
  • Dirty or corroded tracks
  • Faulty or worn out opener motor
  • Incorrectly adjusted opener settings

If you’re having trouble with your garage door opening slowly, it’s important to identify the cause of the problem before attempting any repairs. Otherwise, you could end up making the problem worse.

Troubleshooting a Slow Opening Garage Door

Once you’ve identified the cause of the problem, you can begin troubleshooting your slow opening garage door. Here are some proven solutions for common causes:

Misaligned or Broken Tracks

If your garage door tracks are misaligned or broken, it can cause the door to open slowly. To fix this issue, you’ll need to realign the tracks and make sure they’re securely attached to the wall. If they’re too damaged to repair, you may need to replace them entirely.

Worn Out Rollers

Worn out rollers can also cause your garage door to open slowly. To fix this issue, you’ll need to replace the rollers with new ones. It’s important to use high-quality rollers that are designed for your specific type of garage door.

Dirty or Corroded Tracks

Dirty or corroded tracks can also cause your garage door to open slowly. To fix this issue, you’ll need to clean and lubricate the tracks with a silicone-based lubricant. This will help reduce friction and allow the door to open more smoothly.

Faulty or Worn Out Opener Motor

If your opener motor is faulty or worn out, it can cause your garage door to open slowly. To fix this issue, you’ll need to replace the motor with a new one that is designed for your specific type of garage door.

Incorrectly Adjusted Opener Settings

Finally, if your opener settings are incorrectly adjusted, it can cause your garage door to open slowly. To fix this issue, you’ll need to adjust the settings according to the manufacturer’s instructions. This will ensure that your opener is operating at its optimal level and will help prevent further issues from occurring in the future.

Conclusion

Slow opening garage doors can be frustrating and time-consuming to deal with. Fortunately, there are several proven solutions for troubleshooting this issue. By identifying the cause of the problem and following the appropriate steps for repair or replacement, you can ensure that your garage door opens quickly and smoothly every time. If you need help troubleshooting a slow opening garage door in Newton Upper Falls, Newton Highlands, Waban, Needham Heights, New Town, Newton Center, Nonantum, Newton Lower Falls, Needham, Chestnut Hill, Auburndale, West Newton, Wellesley Hills, Newtonville or Newton area contact Garage Door Experts today!

Categories Posts

Expert Tips for Effective Garage Door Maintenance and Tune-Up: Ensuring Long-lasting Performance and Safety

Expert Tips for Effective Garage Door Maintenance and Tune-Up: Ensuring Long-lasting Performance and Safety

Garage doors are an integral part of any home, providing both convenience and security. However, like any other mechanical system, garage doors require regular maintenance and tune-ups to ensure they continue to operate safely and efficiently. To help you keep your garage door in peak condition, the experts at Garage Door Experts in Newton Upper Falls, Newton Highlands, Waban, Needham Heights, New Town, Newton Center, Nonantum, Newton Lower Falls, Needham, Chestnut Hill, Auburndale, West Newton, Wellesley Hills, Newtonville, and Newton have compiled a list of essential tips for effective garage door maintenance and tune-up.

Inspect the Tracks

The tracks are an important component of the garage door system as they guide the door up and down. Over time, dirt and debris can accumulate on the tracks and cause them to become misaligned or blocked. To ensure that your garage door continues to operate smoothly and safely, inspect the tracks regularly for any signs of damage or obstruction. If you notice any issues with the tracks, contact a professional garage door technician to repair or replace them as soon as possible.

Check the Springs

The springs are responsible for counterbalancing the weight of the garage door so that it can be opened and closed with ease. However, due to their constant use, these springs can become worn over time and eventually break. To prevent this from happening, check the springs regularly for signs of wear or damage. If you notice any issues with the springs, contact a professional garage door technician to replace them before they break.

Lubricate Moving Parts

Lubrication is essential for keeping all of the moving parts of your garage door system functioning properly. To ensure that your garage door operates smoothly and quietly, lubricate all of its moving parts at least once a year with a high-quality lubricant such as WD-40 or silicone spray. Make sure to avoid using oil-based lubricants as these can damage the plastic components of your garage door system.

Check the Balance

If your garage door is not properly balanced it can cause undue strain on the motor and other components of the system. To check if your garage door is balanced correctly, disconnect it from the motor and manually open it halfway. If it stays in place without any assistance then it is balanced correctly; however if it begins to close or open on its own then it is not balanced correctly and should be adjusted by a professional technician.

Test the Safety Features

Modern garage doors come equipped with several safety features such as sensors that detect when something is blocking the path of the door and automatically reverse its direction. To ensure that these safety features are functioning properly, test them regularly by placing an object in front of the sensors while closing the door. If everything is working correctly then the door should reverse its direction when it detects the object; however if it does not then you should contact a professional technician to repair or replace the sensors.

Conclusion

Garage doors are an essential part of any home but like any other mechanical system they require regular maintenance and tune-ups to ensure they continue to operate safely and efficiently. By following these expert tips for effective garage door maintenance and tune-up you can ensure that your garage door continues to provide years of reliable service while also keeping your family safe from potential hazards. For more information about how to maintain your garage door or if you need assistance with repairs or replacements contact Garage Door Experts in Newton Upper Falls, Newton Highlands, Waban, Needham Heights, New Town, Newton Center, Nonantum, Newton Lower Falls, Needham, Chestnut Hill, Auburndale, West Newton, Wellesley Hills, Newtonville, and Newton today!

Categories Posts

Repair or Replace? How to Fix a Damaged Garage Door Panel to Restore Functionality and Curb Appeal

Repair or Replace? How to Fix a Damaged Garage Door Panel to Restore Functionality and Curb Appeal

When it comes to maintaining the exterior of your home, the garage door is often overlooked. However, a damaged garage door panel can have a significant impact on your home’s curb appeal and functionality. If you’re facing a damaged garage door panel, you may be wondering whether it’s better to repair or replace it. At Garage Door Experts Newton, we understand the importance of making the right decision when it comes to repairing or replacing your garage door panel. In this article, we’ll provide some tips on how to fix a damaged garage door panel and restore both its functionality and curb appeal.

Assess the Damage

The first step in deciding whether to repair or replace your garage door panel is to assess the damage. If the damage is minor, such as a few scratches or dents, then you may be able to repair it without having to replace the entire panel. However, if the damage is more extensive, such as a large hole or crack, then you may need to replace the entire panel.

Cost Considerations

When deciding whether to repair or replace your garage door panel, cost is an important factor to consider. Generally speaking, repairing a damaged garage door panel is usually more cost-effective than replacing it. However, if the damage is extensive and requires a lot of repairs, then replacing the entire panel may be more cost-effective in the long run.

Time Considerations

In addition to cost considerations, you should also take into account how much time it will take to repair or replace your garage door panel. Replacing an entire panel can be time-consuming and may require professional help. On the other hand, repairing a damaged panel may take less time and can usually be done without professional assistance.

Safety Considerations

Safety should always be a top priority when it comes to repairing or replacing your garage door panel. If the damage is extensive and could compromise the structural integrity of your garage door, then replacing the entire panel may be the best option for ensuring safety. Additionally, if you decide to repair your damaged garage door panel yourself, make sure that you follow all safety instructions and use proper tools.

Conclusion

When it comes to fixing a damaged garage door panel, there are several factors that need to be taken into consideration. Assessing the damage, cost considerations, time considerations, and safety considerations are all important factors that should be taken into account when deciding whether to repair or replace your garage door panel. At Garage Door Experts Newton, we understand how important it is to make the right decision when it comes to repairing or replacing your garage door panel in order to restore both its functionality and curb appeal.

Categories Posts

How to Adjust Garage Door Springs

Garage Door Repair in Chelsea, MA

Having the right tension on your garage door springs is an important part of maintaining a safe and reliable garage door. If your garage door is not functioning properly, it may be due to the tension in the springs being too tight or too loose. Fortunately, adjusting the tension on your garage door springs is a relatively straightforward process that can be done with a few simple tools. In this blog post, we will go over how you can adjust the tension on your garage door springs yourself.